 Video on Patreon
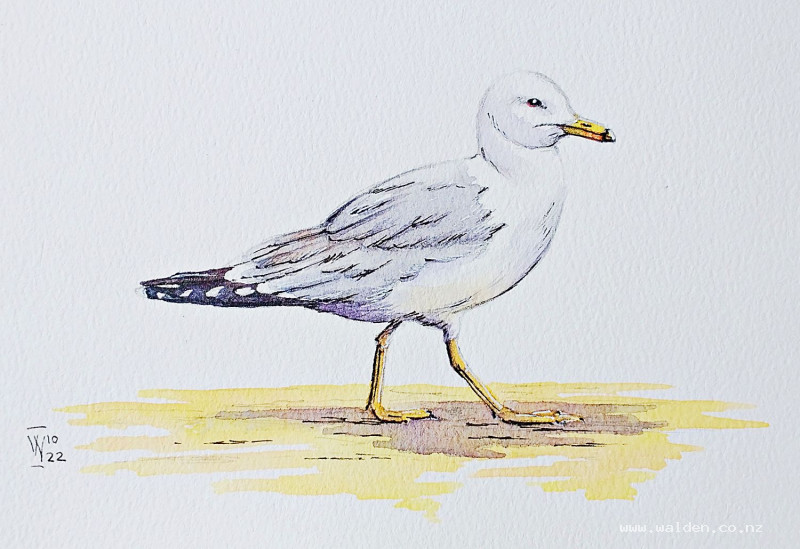
Seagull
18 January 2023
Video - Level ◆◆◆
Let's sketch a seagull! This is a great introduction to painting a bird if you haven't done one before.
Video run-through...
About This Painting
This is a loose, free sketch of a seagull — not a photorealistic study, but an impression, painted as a sketchbook memory of time spent on the north coast of Spain. The approach combines watercolour washes with pen work to define the feathers, and shows how to look beyond the obvious whites and grays of a seagull to find the subtle purples, silvers, and warm browns that give the bird life and form.
If you're working in a sketchbook spread, place the gull on the left-hand page so it faces into the spread rather than out of it — it simply feels more comfortable compositionally.
A reference photo and traceable drawing are available in the lesson description.
Preparing the Drawing: Lost Edges
Draw the bird in pencil, working fairly dark if you'd like the pencil to show through in the finished painting — the marks can enhance the sketchy quality of the feathers. If you prefer a cleaner result, lighten the sketch with a kneadable eraser before starting.
One technique worth applying at the drawing stage is lost edges: use the kneadable eraser to remove the pencil line along the top of the head, the chest, and the back where the sunlight is strongest. When these lines are absent, the bird appears to glow — the white of the paper merges with the background rather than being contained by an outline. This is far more effective than trying to paint around a hard pencil edge. Lost edges work with dark subjects against dark backgrounds too, not just white birds.
Reading the Colours
A seagull looks at first like a simple combination of white, gray, and black. But look more carefully and there's much more going on. The shadows within the white areas have a purplish quality. The main wing feathers are a cooler, silvery gray. One area on the upper wing is slightly warmer and browner. The tail feathers are nearly black but with a brown edge along the top. And if the bird is standing on beach sand, reflected golden light tints the underside of the belly with warm yellow.
Plan these distinctions before mixing — they're what separate a flat, literal bird from one that looks alive.
Painting the White Areas (Shadow and Form)
For the purplish shadow within the white parts of the bird — the sides of the head, around the eye, under the chin, the belly — mix cobalt blue with a small amount of burnt umber to make a gray, keeping it well toward the blue side, then add a touch of permanent violet. Work with a small brush, dropping in the colour and then immediately softening some edges with a clean, dried brush. Go darker under the chin, behind the eye, and where the wing feathers overlap the belly.
For the belly underside, drop in a touch of natural sienna while the purple-gray is still wet to suggest the warm reflected light from the sand below. Keep it subtle — just a warm tinge rather than a strong yellow.
Painting the Wing Feathers
For the main silvery wing feathers, use the same cobalt blue and burnt umber mix but somewhat darker and more neutral than the belly shadows. Paint in the direction the feathers grow, curving toward their rounded tips. Go slightly darker along the lower edge of each feather to give it weight, and where feathers overlap each other. Lift out colour along the upper edge where the light catches it by cleaning and drying the brush and gently touching the wet paint.
In the area where the feathers are slightly warmer, drop in a touch of brown while still wet. Pay attention to the white markings within the wing and leave them unpainted.
Painting the Tail Feathers
The tail feathers are painted with the same cobalt blue and burnt umber mix pushed to near-black — a very dark, richly mixed dark with very little water. There is no need to use black from the tube; a mixed dark is more interesting. A small brush is useful here for careful shaping. The very top edge of the tail has a slightly browner quality, so shift the mix fractionally toward the umber there.
The tail is the darkest area of the painting and will draw the eye — it's worth taking time to get the shape right and going genuinely dark. Darker tail equals more contrast, which makes the rest of the bird sing.
Beak and Feet
Mix Hansa yellow deep with natural sienna for the feet — warm orange-yellow, not too bright, so they don't shout. Paint the whole beak with a slightly brighter cadmium yellow light. The orange markings and black tip of the beak are added once dry. Add a shadow along the back of each leg and under the feet using a slightly browned version of the foot colour, to give the thin legs a cylindrical form.
The Beach (or Water)
The background can be beach sand or water — if painting water, the reference photo includes a lovely reflection. For beach sand, a warm flat wash of natural sienna with a touch of Hansa yellow medium, applied in horizontal strokes to keep it flat. Add a little bright yellow into the wet wash to give it warmth and glow. Keep the shape of the sand interesting — it doesn't have to be a flat rectangle.
Details and Second Passes
Once everything is dry, refine the feather overlaps with a slightly darker version of the wing color — a touch more blue, and not too dark. The pencil marks showing through the wash do a lot of this work already, so the second pass with the brush is just about deepening the shadows and reinforcing the key overlaps. Look at the reference photo carefully to avoid making all the feather lines identical in spacing and curve.
Add the final beak details: the black tip and markings, a small amount of orange-red around the eye (pyrrole orange mixed with quinacridone rose, leaning toward orange) carefully applied to preserve the eye colour underneath.
The Shadow
Place a cast shadow on the sand beneath the bird to anchor it to the ground. The light comes from the front, so the shadow falls to both sides rather than strongly in one direction. Mix a purplish gray — a complement to the yellow sand — and paint an irregular shadow shape carefully around the feet. Let the beach dry completely first to avoid cauliflowers.
Pen Work (Optional)
Allow the painting to dry completely. Using a fountain pen or fine fineliner with dark brown ink, define the shadow sides of the tail feathers, the knobbly texture of the legs and feet, the key feather overlaps on the wings, the black beak marking and nostril, and the eye. Work tentatively and slowly — pen is permanent. Turning the pen upside down gives a finer line for delicate marks.
For the eye, block in the dark iris carefully to preserve any orange-red around it, then add a tiny white gel pen highlight.
Use the white gel pen for the small fluffy feathers overlapping the wing edges, any bright highlights catching the sun, the front of the legs, and the top of the beak. A few scattered pen marks on the beach stop all the detail being concentrated on the bird alone.
Sign or initial, add the date, and done — a seagull at the beach.
Resources...
* Reference photo
* Drawing to trace
Join me on Patreon
Join my Adventures in Colour Tier for $16 to access this post and my full library of over 200 others including deep-dive videos and step-by-steps.