I thought it would be fun to take a series of shots showing the steps I take when doing one of my urban sketches.
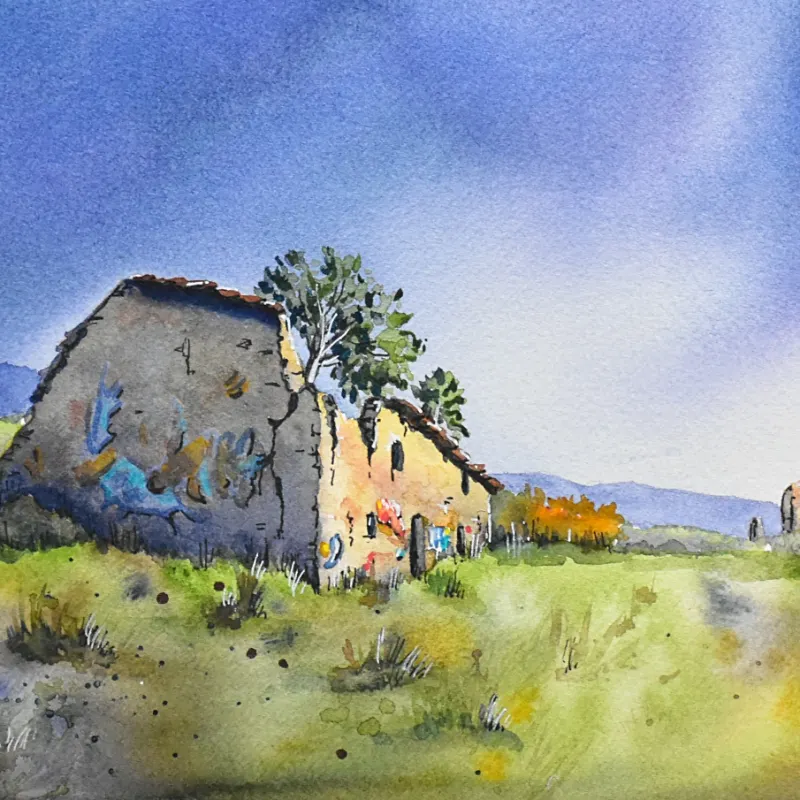
Here is the scene I chose. It's in the tiny town of Daghei in the Dolomites in Italy. Situated at about 1500m, there's a whole series of villages in this area, with countless little corners to sketch. There are incredible views too, of the amazing Monte Civetta and other big Dolomite peaks.
Old house, Daghei, Dolomites, Italy
It may not look like much to you :-) But, the little windows, stonework and plasterwork caught my eye. It doesn't take much to get me excited! I often find beauty in not so obvious places - surprising locals who stop to chat and making them look at their surroundings in a new way.
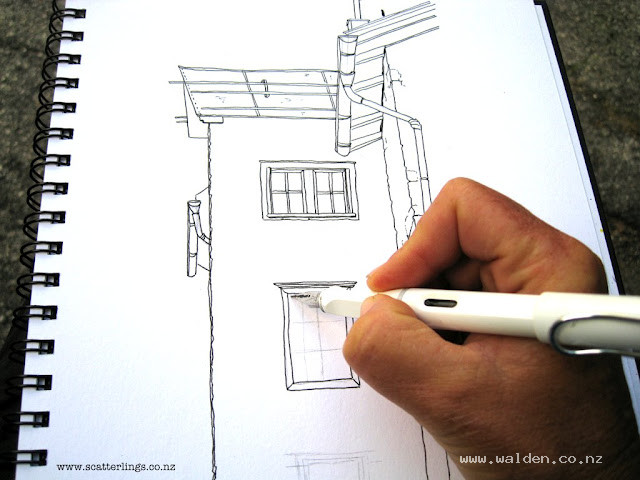
First I roughly block in the main shapes with a pencil, getting all the angles and perspective correct. No detail in the pencil sketch. Then using my Lamy Safari with the Fine nib, I draw first the main structures.
After roughing in the main shapes with a light pencil I start in ink with a fine nib.
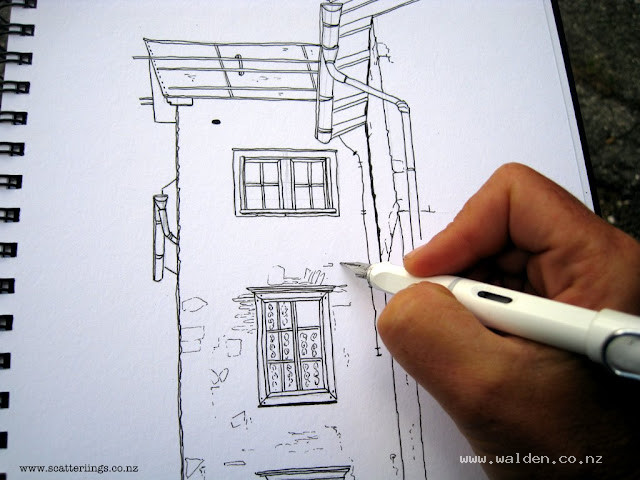
Then, still with the Fine nib, I add all the lovely little details. Usually I don't draw every brick, stone, leaf or piece of wood, but this scene was simple and I wanted to capture a lot of detail.
Adding all the little details.
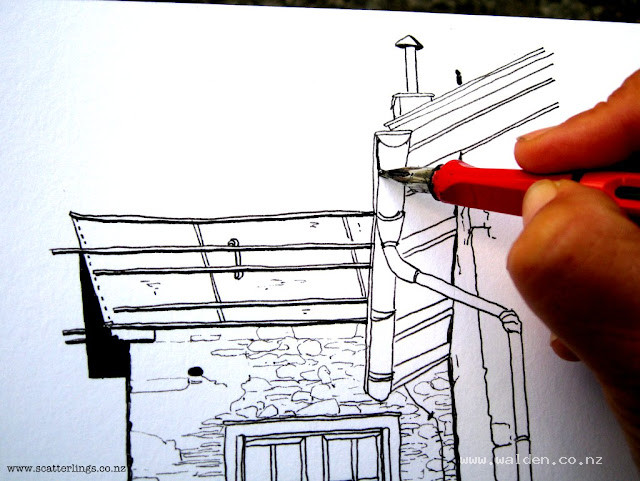
Then I erase all my pencil lines, and change to the Lamy Safari with the Broad nib. I use this pen for colouring in all the big dark areas (like under the eaves and the windows) and for thickening shadow lines. This really makes the sketch come to life and I especially love this stage.
Changing to a broad nib to strengthen shadow areas
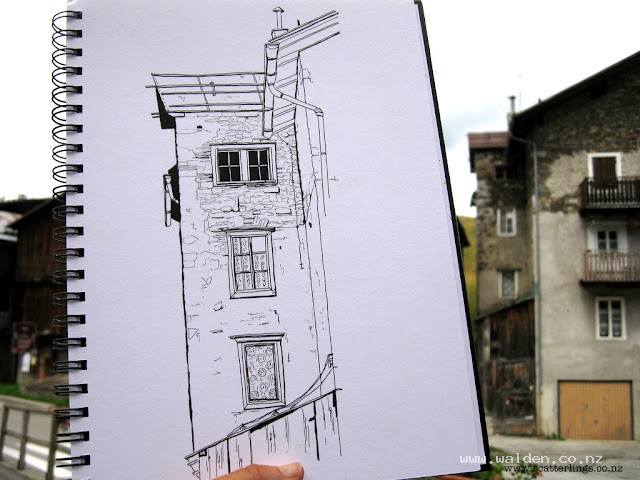
The finished pen and ink sketch.
The finished pen and ink sketch
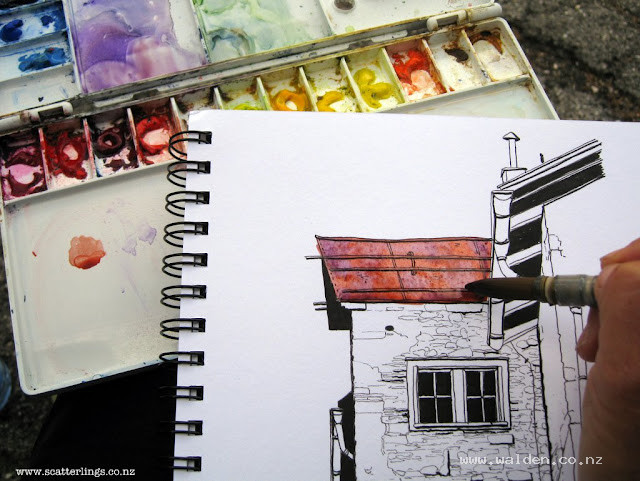
Now for some colour. Using the largest brush I am comfortable with I start blocking in colour. First the roof, wet in wet, using 3 or 4 colours and I let them mix on the paper with a very light touch from the brush. Just letting watercolour do it's thing!
Painting the roof in watercolour and a large brush, wet in wet, 3 or 4 colours
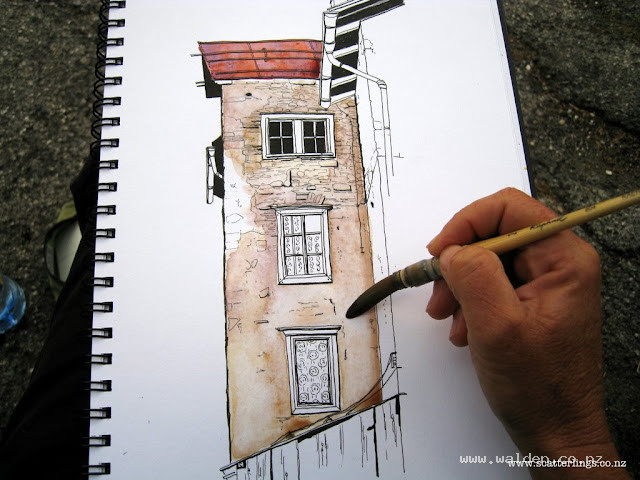
On to the wall. Also wet in wet, 3 or 4 colours - a mix of warm and cool colours. Then when almost dry, I drop in clear water to create back-runs and with clean brush I lift off some areas. This helps to create a bit of 'grunge' for the old wall. I also leave some areas of white - some with hard edges, some with soft.
Painting the wall in watercolour and large brush, wet in wet, 3 or 4 colours
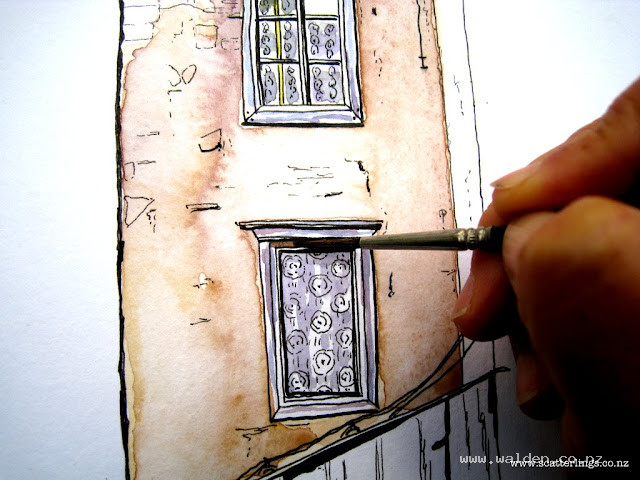
Once the first wash is completely dry I change to a smaller brush for the details.
Painting the little details with a tiny brush
And finally I add in the shadows. Using the same mixes I used for the first wash, but adding a blue and/or purple to each mix to create a cool colour. Shadows really bring the painting to life and sometimes on a very sunny day I might have different strengths of shadows ie. doing a second layer of shadows in some areas to darken them even further.
In the final stage I also strengthen any line work that needs it. I'm very careful with this, as areas with watercolour already added take the ink more fully than in the initial sketch, often making lines thicker and darker than expected.
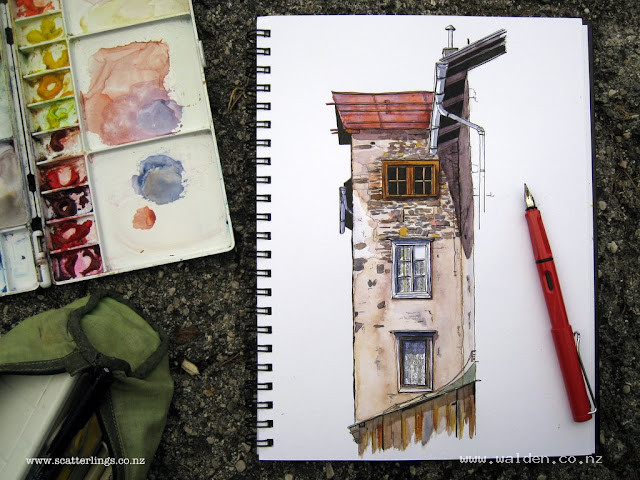
The final sketch...
The final sketch
All that remains is to add the name of the town, intial and date. I also write a little journal note on the back of my sketch about the day, sights, sounds or any visitors I had.
Materials... Sketchbook:
Stillman & Birn Beta Series Brushes :
Large - Raphael Size 2
Small - AS Handover Size 0 Pens :
Lamy Safari with Fine & Broad nibs Ink:
De Atrementis Document Ink, black Watercolour Paints :
MaimeriBlu - Paynes Grey, Permanent Violet, Permanent Red Light, Dragons Blood
Winsor & Newton - Raw Sienna, Burnt Sienna, Quinacridone Gold, Cadmium Yellow Hue
If you would like to see more of these step-by-step sketches, then please let me know by dropping a comment below.
Until next time - ciao from Italy!
REMINDER :
There are over 50 tutorials (videos and step-by-steps) on my Patreon and Renee's Studio. Find them here ... www.walden.co.nz/learn
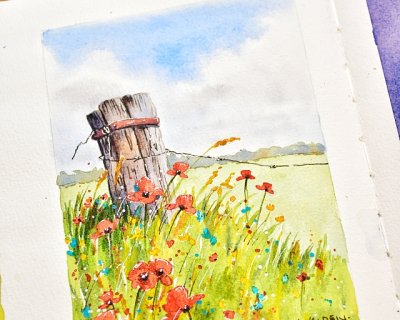
There's something irresistibly paintable about a weathered fence post half-swallowed by summer wildflowers. It's the contrast that does it — rough, sun-bleached wood against the soft, fleeting delic...
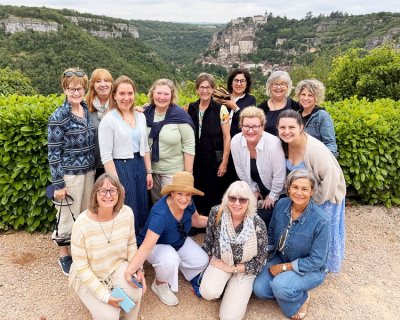
Five times at Périgord Retreats, and the magic is still there.. Every single time I hop on the train in southern France and get whisked through French countryside and villages to Gourdon Station — ...
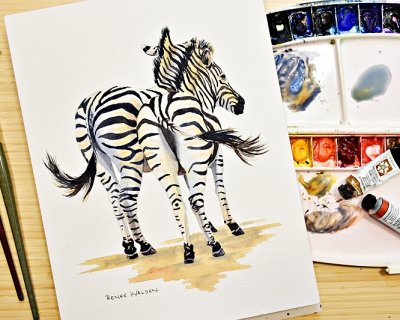
Ater spending time in South Africa recently, surrounded by the kind of wildlife you only see there, I came home with many sketches of zebras, giraffes, warthogs, baboons and more and a strong urge to ...