It's been a while since I interrupted by sketching to take some step by step photos! Long overdue, some would say, as I've been getting a lot of messages and comments asking me about the order I do things when I'm painting outside.
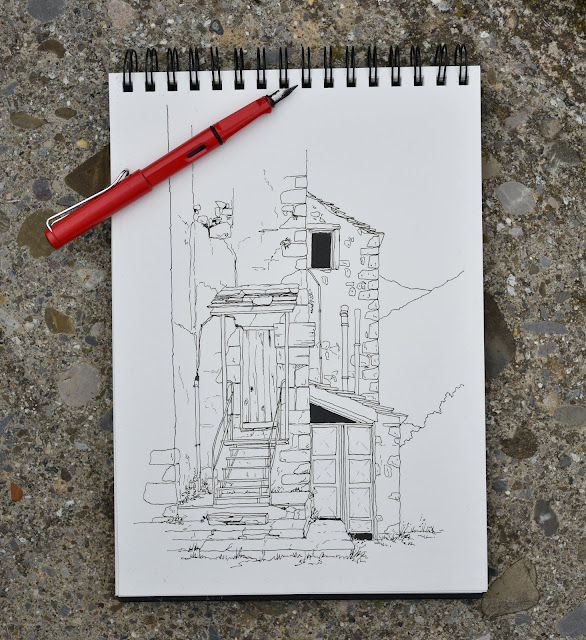
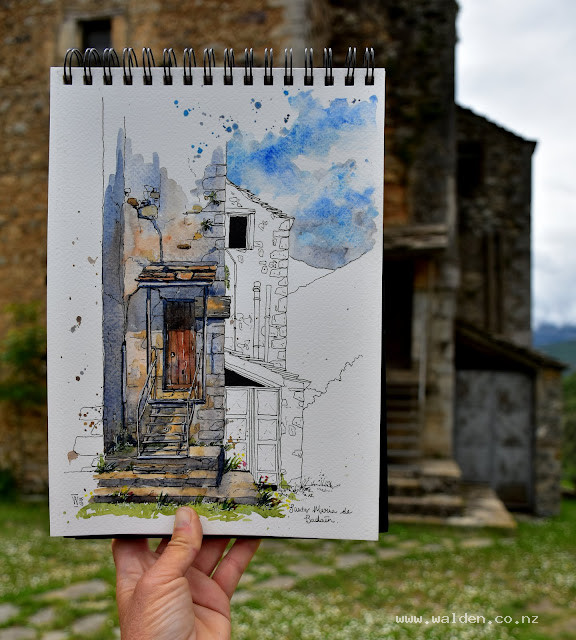
This romanesque church is in the little village of Badain in the Spanish Pyrenees. I've sketched the whole church before, so this time I decided to get much closer and concentrate on just part of the building. This would give me to opportunity to do much more detail than I could manage in my previous sketch.
I start with a very rough pencil sketch to get the perspective correct. Stairs! Always a nightmare for me. Then I ink in all the detail using my trusty Lamy's - the fine nib for all the detail, the broad nib for a few shadow lines and the dark windows. (More on my pens and ink in the Tips & Techniques section above!).
Finished ink sketch of part of the romanesque church of Badain, Spanish Pyrenees.
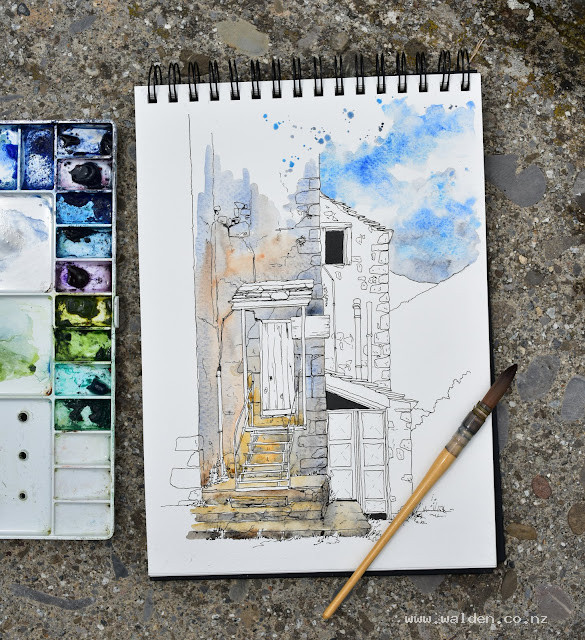
Next I do the first very light wash of watercolour. All wet in wet with a large round brush, dropping in shades of brown, sienna and payne's grey for the walls and stone steps.
First watercolour wash for the sky and stonework. Wet in wet.
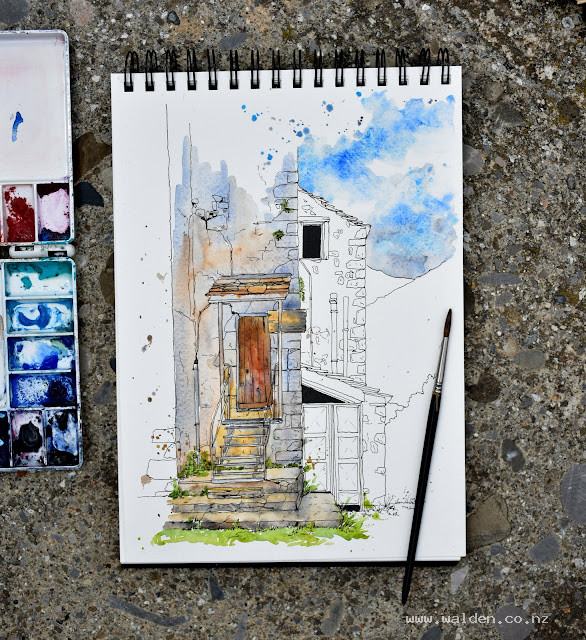
I complete the first wash and start adding glazes of colour to strengthen areas. Wet on dry now. I add all the tiny details with a smaller round brush.
Completing the watercolour washes and adding details with a smaller brush.
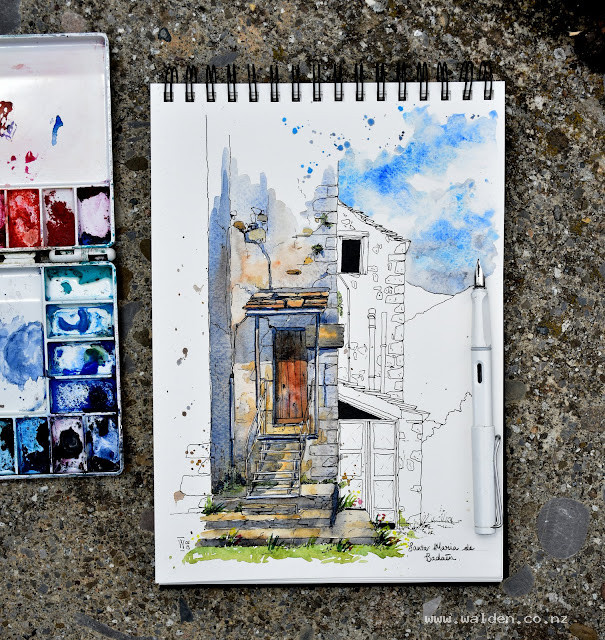
Shadows! This is where it all comes together. I use a mix of Payne's Grey and Burnt Umber to add a light shadow, wet on dry. Once this is dry I use a thicker mix of Payne's Grey for the darker shadows.
While I'm waiting for this to dry, I initial and date the sketch and add the location.
Almost done - shadows added.
Final details - I use my Lamy with the fine nib to strengthen some inkwork and use a white Uniball Signo to add touches of highlights, mostly to the grass in front. Done!
Done! Santa Maria de Badain - watercolour and ink painting.
You can see other step by step tutorials in the Tips & Techniques section above, as well as info about my materials.
Hasta luego!
REMINDER :
There are over 50 tutorials (videos and step-by-steps) on my Patreon and Renee's Studio. Find them here ... www.walden.co.nz/learn
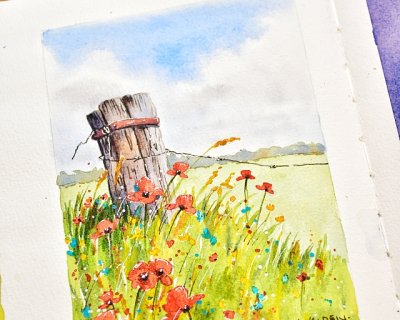
There's something irresistibly paintable about a weathered fence post half-swallowed by summer wildflowers. It's the contrast that does it — rough, sun-bleached wood against the soft, fleeting delic...
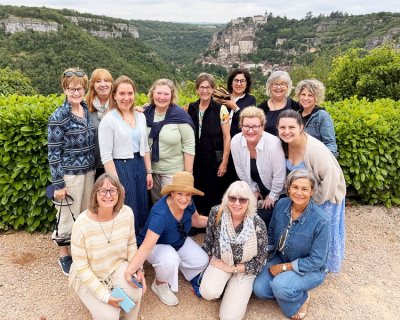
Five times at Périgord Retreats, and the magic is still there.. Every single time I hop on the train in southern France and get whisked through French countryside and villages to Gourdon Station — ...
Ater spending time in South Africa recently, surrounded by the kind of wildlife you only see there, I came home with many sketches of zebras, giraffes, warthogs, baboons and more and a strong urge to ...