why your watercolours look different from the tutorial (and what actually helps)
30 April 2026
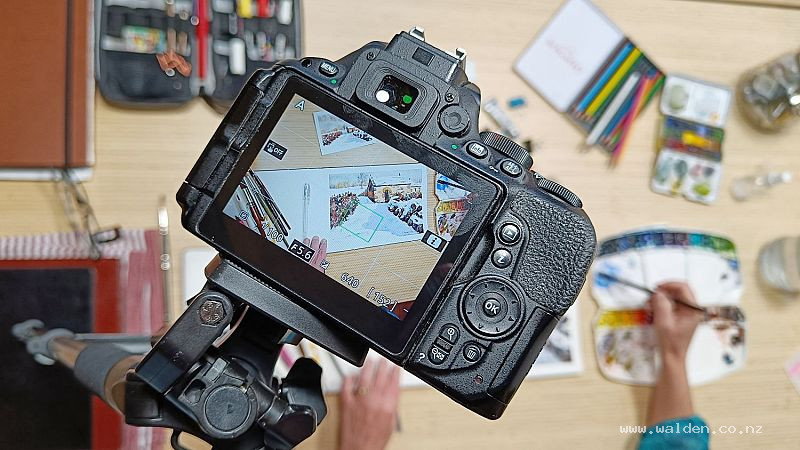
Filming a watercolour tutorial.
Another long one — grab that coffee again.
This is a question I hear constantly, and I want to answer it honestly. Because the truth is slightly uncomfortable: when your painting doesn't match the tutorial, it's often not because you're doing it wrong. And it's not because the tutorial is misleading you. It's because there are variables at play that nobody really spells out — and once you understand what they are, the gap starts to make a lot more sense.
The variables — and what to do about each one
Paper. Probably the single biggest culprit. The same technique on cheap wood-pulp paper versus 100% cotton behaves completely differently — how water moves, how long you have to work wet-into-wet, how colours lift, how edges form. If you're watching someone paint on 100% fine art cotton and you're working on a student pad, you are essentially doing a different activity.
What helps: Before you start, check what paper the teacher is using — it's usually mentioned in the supply list or description. You don't need the same brand, but you do need the same category. Switching to 100% cotton paper removes more variables than almost any other single change you can make.
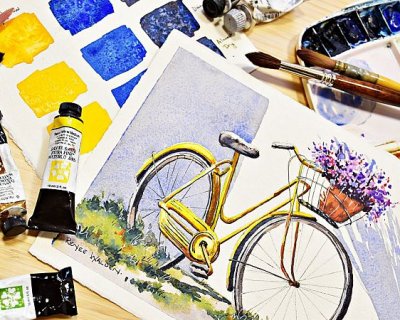
Pigment concentration. Most people paint too pale without realising it. Watercolour dries significantly lighter than it looks when wet, so what seemed bold and saturated goes quietly pastel. The tonal shift is a lot more pronounced in student grade watercolours. An experienced painter has calibrated this intuitively over years — they're mixing stronger than it looks — but they're usually not conscious of doing it. I try to remind you about this often in the tutorials.
What helps: Before you begin, mix what looks right, do a quick swatch on a scrap of the same paper, and let it dry fully. See how much it lightens. Then go back and mix stronger than feels comfortable. Doing this before a tutorial starts can help a lot. I also share the final painting from video tutorials on our Facebook group so you can see what it looks like not through the video lens.
Water ratios. Related to the above but different — it's the balance between the water on your brush and the water already on the paper. Too much of either and things go wrong in ways that are genuinely hard to diagnose. Getting this right is largely a matter of feel, and that feel takes time to develop. It cannot be fully conveyed through a screen, which is a frustrating truth but an important one to know.
What helps: There's no shortcut here — this one improves with repetition more than with information. But doing a small test wash before you start the painting proper will help you calibrate for that particular paper and that particular day.
Speed and timing. Wet-into-wet especially is far more time-sensitive than video makes it look. If you're watching a tutorial that has editing, adjusted playback speed, or paper that was pre-wetted off camera — all of this makes the working window appear longer than it actually is. The teacher isn't being misleading; they've just forgotten that the clock was already running before the video started.
What helps:
Follow along to tutorials that are filmed and talked through in real time. Avoid those with too much editing or voiceovers.
Watch the tutorial all the way through before you pick up a brush. The first watch is for the overview — what's happening, what the main moves are, where the moments are that will require quick decisions. The second watch is where you paint along, pausing constantly. Going in without surprises means you're never rushing, never reaching for a brush mid-wash with no idea what comes next.
If wet-into-wet keeps closing on you too fast, wet the paper more thoroughly before you start, or try working in a cooler part of the day. In dry climates, a fine mist spray bottle kept nearby can extend the working window considerably.
Environment. This almost never gets talked about, but humidity and temperature affect drying time enormously. Someone filming in a cool, damp studio has a much longer working window than someone painting in a warm, dry climate. If you're consistently losing the wet stage too fast, your room may be part of the reason — not your technique.
What helps: Try painting at a different time of day, or in a different room. Early morning tends to be cooler and more humid in most climates. It sounds simple, but it can make a noticeable difference.
Tonal values. A lot of "my painting looks wrong" isn't actually a technique problem — it's a tonal one. If the lights and darks aren't in roughly the right places before you start, no amount of careful brushwork will rescue it.
What helps:
Turn your reference photo, my final painting, and your finished painting into black and white. Comparing the three will quickly show whether your tonal values are off.
Do a quick thumbnail study before you begin. It doesn't need to be careful or detailed — a tiny pencil sketch, a few strokes of grey marker, or even a black-and-white photo of your reference will do. Just enough to confirm where the darkest darks and lightest lights are going to live. Five minutes here saves a lot of frustration later.
Practice paintings before filming a tutorial
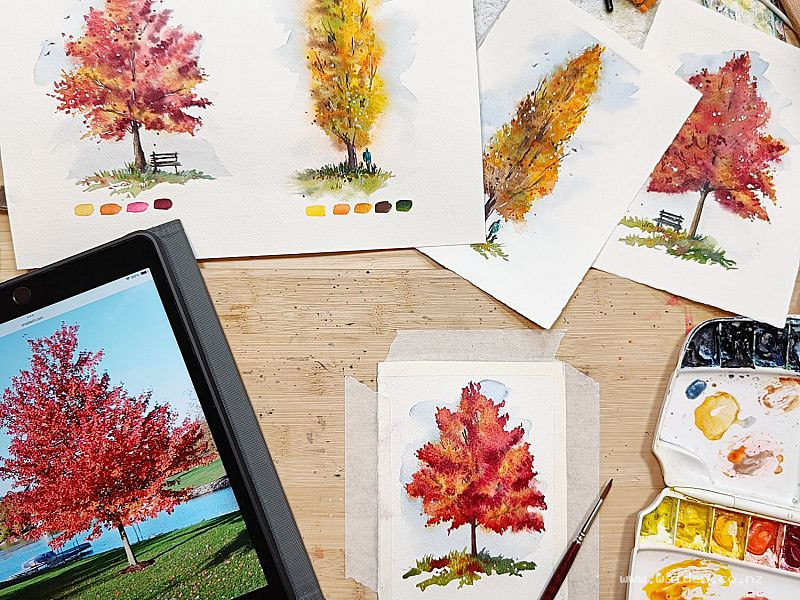
The teacher has painted this before. The confidence, the speed, the decisive brushstrokes — those come from deep familiarity with that specific subject, often from having painted it many times. You are doing it for the first time. The gap you're seeing isn't skill — it's repetition.
What helps: Paint the same subject more than once. The second attempt is almost always better than the first, and not because you learned something new in between — simply because the subject is no longer unfamiliar. This is also why the challenges on my Patreon ask you to repeat a theme rather than move straight on. Repetition is where the real learning lives.
Two things that will accelerate everything
These aren't solutions to specific problems — they're habits that cut across all of the above and will quietly improve everything.
Film yourself painting. I know this sounds strange, but it is one of the most useful things you can do. You'll immediately notice things that are invisible to you while you're actually painting — how tentative your brushstrokes are, how little paint you're loading onto the brush, how long you deliberate before each mark. The teacher looks decisive on screen partly because they genuinely are decisive, but also because sometimes the hesitations got edited out. Watching yourself back shows you the gap honestly, without judgement, and most people find it genuinely eye-opening. You only need to do it once or twice to get the benefit.
Try to explain what you've learned to someone else. This is something every teacher knows: you haven't truly understood something until you can put it into words for another person. It doesn't need to be formal — explain a technique to a friend, write a few notes as if describing it to someone who wasn't there, or just talk yourself through it out loud while you paint. The moment you try to articulate why something works, rather than just copying how it's done, is the moment you actually own it. Everything before that is borrowing.
The most important reframe
The goal of following a tutorial is not to produce the same painting.
It's to understand one or two specific things the teacher is doing — how they wet the paper, how they mix that colour, how they handle a particular edge. If you go in looking for those things rather than trying to replicate the whole result, you'll come away with something genuinely useful every time, regardless of whether the painting worked.
The tutorial is showing you a path. The painting you make while following it is just evidence that you walked it. What you carry forward is what matters.
Have you ever dreamed of wandering through medieval villages, sketchbook in hand, capturing stone archways, sunlit vineyards, and mountain views that take your breath away?. Imagine staying in a beaut...
This is a detailed post — grab a coffee. I get asked about this a lot, and it deserves a proper answer. I'm often asked some version of the same question: how do I actually progress in watercolour? ...
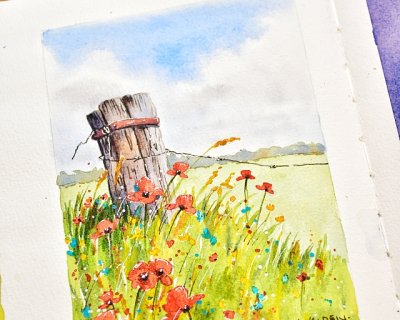
There's something irresistibly paintable about a weathered fence post half-swallowed by summer wildflowers. It's the contrast that does it — rough, sun-bleached wood against the soft, fleeting delic...