Animals
Animals reward careful observation — and a confident brush
Paint the subject first
For any animal with backlighting, bright edges, or white areas that need to stay clean — paint the animal first, then cut in with the background afterward. Trying to reserve edges while painting the background first is far harder. The subject goes on first; the background wraps around it.
Plan the reserved whites before any brush touches the paper. Once colour goes down over a white area it's very difficult to recover.
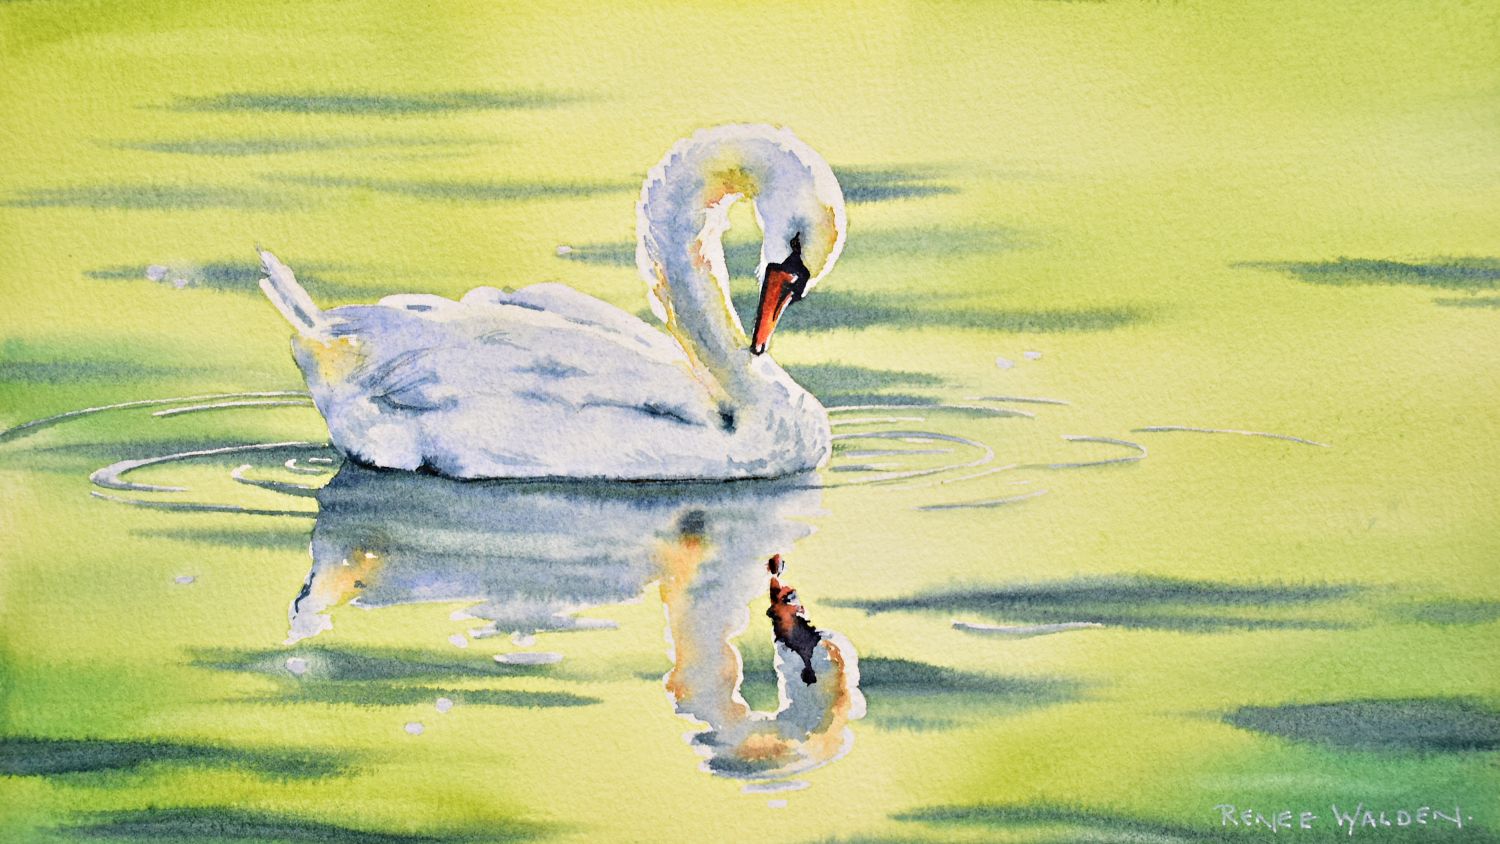
Lost edges
A lost edge is where the contour of an animal simply disappears — where the light is so strong that the boundary between subject and background cannot be seen. This is one of the most powerful effects in animal painting, and it happens on the lightest, most sun-struck parts of the subject.
How to create them
- Identify the lost edges before you start — where is the light strongest? Those boundaries can be softened or left completely unpainted
- Use a kneadable eraser to remove pencil lines from the brightest areas before painting — a hard pencil line showing through a glowing edge looks wrong
- At the painting stage, simply stop short of the edge and let the white paper merge into the background
- On the shadow side, keep edges present and defined — the contrast between lost and found edges is what makes the animal feel three-dimensional
Lost edges work on white seagulls against bright skies, dark fur catching backlighting, and any edge where strong light dissolves the boundary. Wherever the light is strongest, consider losing the edge entirely.
Animal eyes
The eye is where the viewer looks first in any animal portrait — it deserves proportionally more care and time than any other part of the painting. Work in layers, letting each one dry before adding the next.
Structure of the eye (working outward in)
- Outer skin and surrounding folds — grey-brown shadow, slightly cooler at the top, warmer below
- The iris — a warm golden ring; fine radiating marks in quinacridone sienna and gold with the smallest brush available
- The pupil — the darkest mark in the painting; add only once surrounding colours are fully dry
- The highlight — a white gel pen dot or arc, placed last; it immediately makes the eye come alive
The eyelashes
Fine, curved lashes that extend well beyond the eye are one of the most beautiful features of large animals — in zebras especially, some appear to begin in the middle of nowhere. A fine nib turned upside down gives the finest marks, or use a number zero brush.
Stripes, feathers, and markings
Animal markings don't just decorate the surface — they create form. The curve of a zebra's stripes across the face defines the shape of the muzzle and the roundness of the neck. Always paint markings in the direction they flow across the body.
Dark markings on a pale animal (zebra)
- First, lay the full-page pale wash for the "white" stripes wet-into-wet — this is where all the colour temperature variation happens (cool blue-purple on the shadow side, warm gold on the lit side)
- Let dry completely — do not use a hairdryer at this stage; the colours continue to settle and soften naturally
- Paint the dark stripes on top, following the direction they flow. Vary the darkness — on the lit side, stripes are warmer and slightly lighter; on the shadow side, near-black
- Paint decisively — tentative marks look wrong. The markings have a clean, confident character
Feathers
Paint in the direction the feathers grow, curving toward rounded tips. Go slightly darker along the lower edge of each feather where it overlaps the one below. Lift colour along the upper edge where light catches it — a clean almost-dry brush pressed gently into still-wet paint lifts beautifully.
Animals against backgrounds
The background has one job: to support the animal without competing with it.
- Keep it light behind the darkest areas — so the animal's darkest tones have maximum contrast
- Go slightly darker behind white areas — so white reads clearly against it
- The animal should be the darkest element in the composition — if anything in the background approaches the same value as the subject, lighten it
- White gouache splattering adds organic energy to wet or splashing subjects — whale tails, water birds. Keep it on a completely separate palette so it never contaminates the watercolour wells
Backlighting
A backlit animal has a luminous rim where direct light catches its edge. Paint the animal dark overall, then while the edges are still wet, drop a warm yellow or orange along the lit side and let it bleed slightly inward. This glow is what lifts a silhouette from flat to atmospheric.