Texture Effects
Techniques that go beyond the brush to create organic, unpredictable marks
The core variable: timing
Almost every texture technique depends on when you apply it. Paint goes through roughly three stages: very wet, damp, and dry. The effect changes significantly at each stage. Always test on a scrap first.
Salt
Drop table salt granules onto wet paint. The salt draws moisture from the paper and displaces pigment, creating star-shaped crystalline marks.
- Too wet: marks spread into formless blobs
- Too dry: nothing happens
- Just right: damp but not flowing — crystalline star patterns form
Brush salt off cleanly when fully dry — use a fingernail for stubborn grains. Keep salt away from the palette, as even a few grains in a mixing well will affect future washes.
Best for: sky texture, sparkling water, misty backgrounds, snow effects
Scoring (sgraffito)
Press a pointed tool into wet paint to dent the paper surface. Paint runs into the groove and dries darker, leaving a fine organic mark.
Tools that work: pointed brush handle, mechanical pencil with lead retracted, old ballpoint pen, dotting tool
Timing is critical
- Too wet → lines fill in and disappear
- Too dry → no pigment flows into the groove
- Just right → just-past-wet, with a slight sheen still visible
Best for: leaf veins, grass marks, gill lines on mushrooms, wood grain, bark texture, stone cracks
Blooms (backruns / cauliflowers)
A bloom forms when water wetter than the surrounding paint is introduced — it pushes outward and creates a characteristic flower-like edge as it dries.
Controlling blooms deliberately
- Splatter clean water into a damp wash to create organic texture
- Very wet into very wet → large, soft blooms
- Wet drop into nearly-dry wash → small, hard-edged bloom
Best for: background atmosphere, foliage texture, snow texture, misty forest effects
Dry brushing
Load a flat brush with thick, almost-dry pigment and drag it lightly across cold-pressed or rough paper. The bristles skip across the raised paper texture, leaving broken, flickering marks.
- A flat brush is far easier to dry-brush with than a round brush
- Keep testing on a scrap — the brush dries quickly
- Use for worn paint effects on wood, shutters, and corrugated iron
Best for: sparkling water, worn wooden surfaces, foliage edges, rough stone, aged paintwork
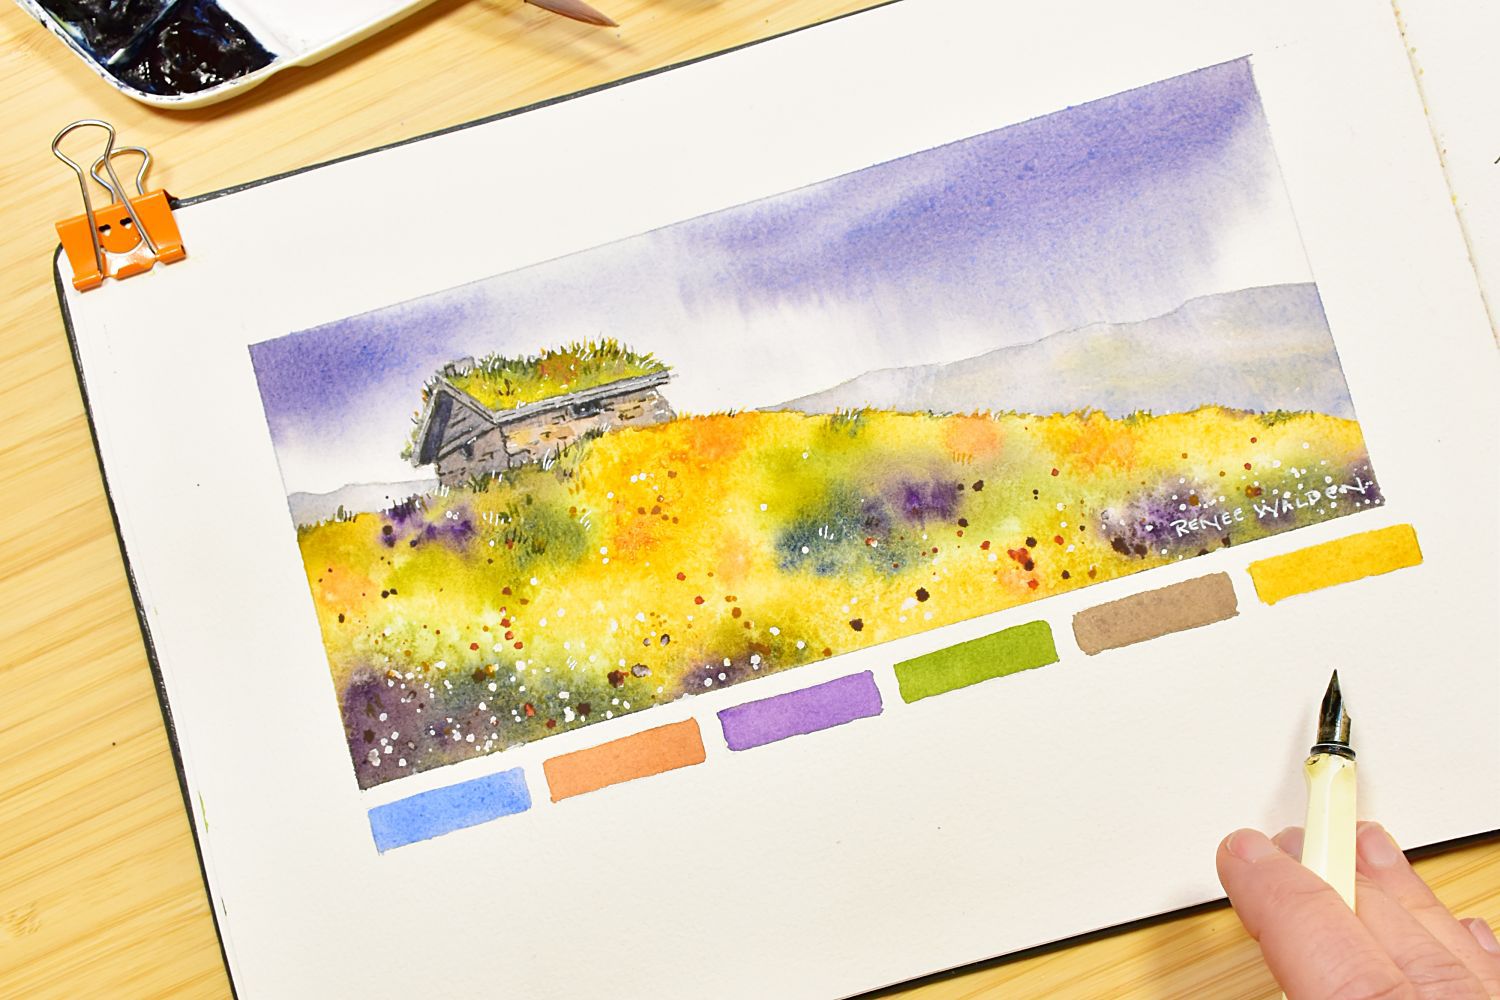
Splatter
Load a brush with paint and flick or tap it to scatter drops across the painting. Works with any brush; a toothbrush loaded with paint and dragged creates a fine mist.
Splatter order matters
- Cover any areas you don't want hit with a sheet of paper
- Start with the colours already in the painting for harmony
- Add white gouache splatter for sparkle
- Finish with one restrained opaque accent colour (cobalt turquoise or lavender)
Wetter paint makes larger, spreading drops; drier paint makes smaller, more defined ones. Layer at different stages of drying for variety.
Credit card / ruler lifting
Drag the edge or corner of an old credit card through damp paint. The card displaces and lifts colour, leaving a lighter mark — almost back to the paper colour.
- Must be done in the damp-but-not-wet window — test first
- Too wet: paint floods back into the mark
- Too dry: paint won't lift
Best for: silver birch trunks, rock highlights, grass streaks, distant fence posts, light streaks in foliage
Bokeh lifting
Use a circular stencil (cut from plastic or card) to lift soft circles of colour from a dry background — suggesting out-of-focus background light.
- Place the stencil on dry paint over the area to lift
- Wet the stencil opening with clean water
- Press firmly and dab with a clean flat brush
- Lift stencil to reveal a softly lightened circle
- Overlap circles of different sizes, keeping them subtle
Cotton paper lifts more cleanly than wood-pulp paper. Staining colours (phthalo, quinacridone) may resist lifting once dry.