Materials & Setup
Getting this right before you start makes everything else easier
Paper
Paper is the most important material decision in watercolour — it affects every technique you use. Before you spend money on good quality paints or brushes, I'd encourage you to purchase good quality paper first. The cheapest way to access the best paper is to buy full sheets and tear them down to size yourself. But watercolour blocks and sketchbooks are handy too.
Cotton vs wood-pulp
- 100% cotton paper is what I use for almost all my work. It handles wet-into-wet for much longer, lifts paint more cleanly, stays flatter, and produces richer granulation. For any extended wet-on-wet session it's essential.
- Wood-pulp paper is perfectly fine for practice and shorter sessions — it dries faster and lifts less reliably, but it's a good way to work through ideas without worrying about cost.
Surface textures
- Cold-pressed (NOT): the most versatile — works for almost everything
- Rough: beautiful for dry-brushing, atmospheric landscapes, and textured surfaces
- Hot-pressed: very smooth — better suited to detailed botanical or fine illustration work
Taping
Standard masking tape from a hardware store works just fine. Washi tape gives a cleaner, more forgiving edge and peels off beautifully, but is more expensive. Bulldog clips when working in a sketchbook are very handy to to prevent pages buckling.
Board angle
Painting with the board at a slight angle — rather than flat — helps in several ways: it protects your neck, the natural downward flow of water creates ease when painting washes, and paint dries more evenly from top to bottom. A simple piece of wood, 2-3cm high, under one edge is all it takes.
I adjust the angle depending on what I'm working on — a steeper angle encourages more movement, which can be useful for certain wet-on-wet effects. A flatter angle encourages granuation. Tipping and turning the board can control the flow in very wet washes (for example in stormy skies)
Board materials
Use food-safe or inert materials. Bamboo breadboards and acrylic/perspex sheets work well. Avoid boards with unknown glues or resins — they can leach into wet paper and leave yellow stains that appear even weeks later and ruin your painting.
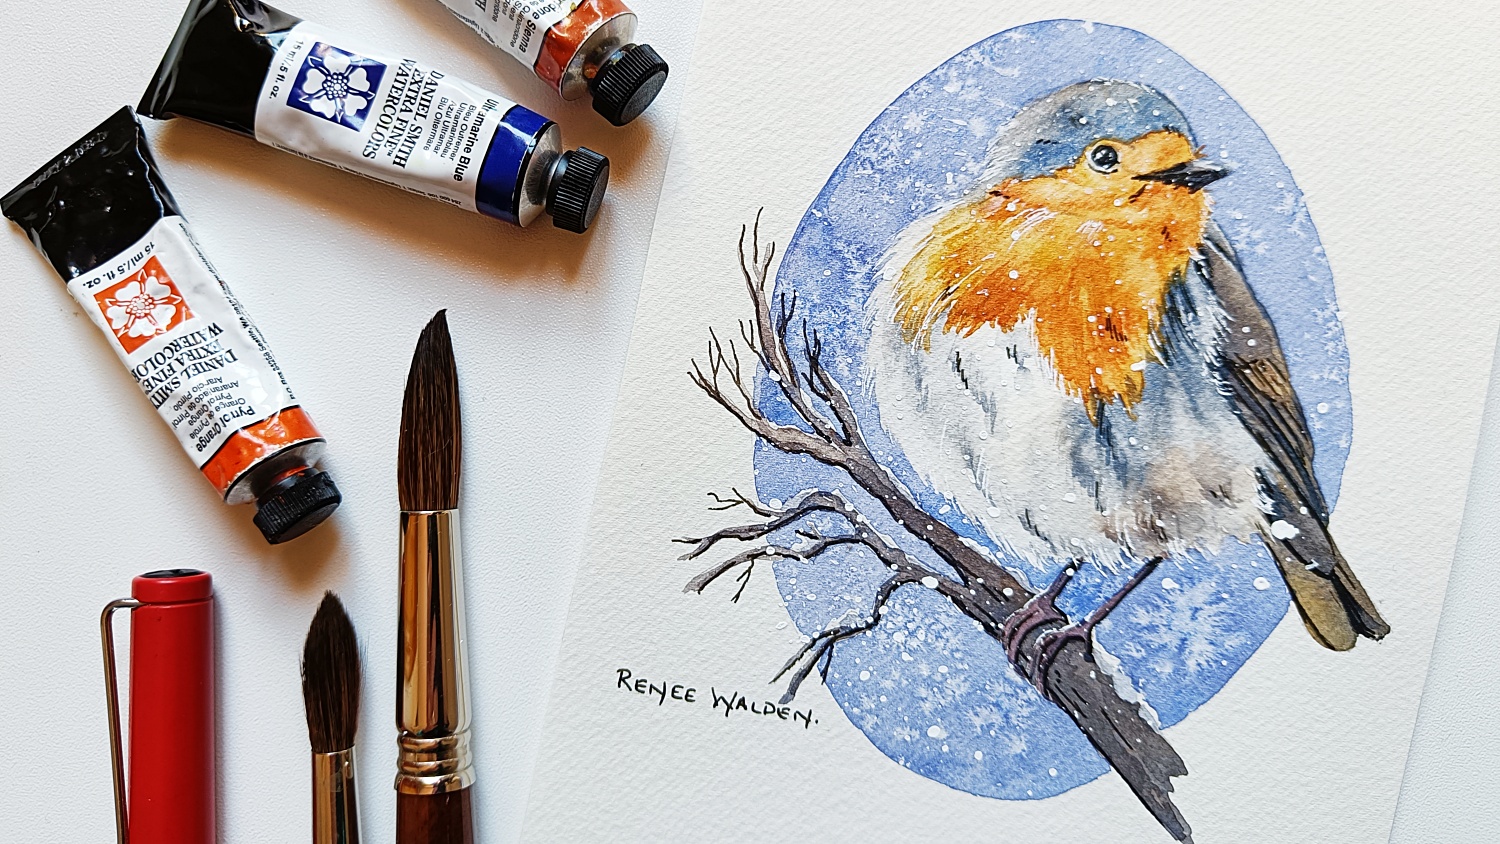
Palette & paints
- A palette with large mixing wells is essential — you need enough room to load a brush fully without running out of paint mid-wash.
- Tube paints squeezed into wells and allowed to dry work very well — they reactivate easily with water. They're also more economical than pan paints.
- Pan paints are better mixed out into a separate ceramic palette than used straight from the pan. Pan paints are handy for traveling because you can change out your colours to suit your location very easily.
- White gouache should live on a completely separate palette — even a tiny amount in the watercolour wells makes every future wash look chalky and opaque.
Clean water
Work with two jars — one for rinsing dirty brushes, one kept clean for mixing. Change them often. Dirty water greys every colour it touches, and it's one of those things that can quietly undermine a painting without you realising why.
Workspace layout
For ease of flow (watercolour is so much about timing and not hesitating) everything you reach for constantly should be within arm's reach, positioned so you don't have to cross the painting to get it. Crossing over your painting with a wet or pigmented loaded brush runs the risk of dropping splashes into what would otherwise be a perfect wash.
- Right-handed: palette and water jars on the right; active brushes on the left
- Less-used tools (pens, scratching tools, clips) at the top where they're accessible but out of the way
- Keep a reference photo or thumbnail in view, if you're using them — it's easy to drift without them
Brushes
- A good round brush (size 8–12), with a large belly and good point, handles most of the work — one excellent round brush is worth more than ten mediocre ones
- A one-inch flat brush is invaluable for wetting paper, laying washes, and cutting clean edges around architecture
- A rigger or dagger brush for fine lines, branches, rigging, and calligraphic marks
- An old brush kept just for masking fluid — masking ruins good brushes
- A stiff small flat brush can be used for lifting out colour or for correcting mistakes
- Synthetic brushes are fine - many manufacturers make synthetic versions of animal hair brushes that are cheaper and longer lasting than the old-style brushes
Holding the brush
If you hold the brush further back on the handle you'll get looser, more expressive marks — only move toward the ferrule when fine detail genuinely requires it. Most of us hold the brush too far down towards the bristles, which impedes movement and creates marks that are less lively.
What a flat brush can do
The flat brush is more versatile than most people realise. Most people use it only for washes — but from a single one-inch flat you can make a surprisingly wide range of marks:
- Flat washes: even, smooth coverage over large areas — the obvious use, and it does it beautifully
- Edge marks: hold it upright and use just the edge for fine precise lines — narrow architectural details, shadow lines along walls, eave undersides
- Dry brushing: load with thick, almost-dry pigment and drag it lightly across the paper — the bristles skip across the texture and leave beautiful broken marks. I find this easier with a flat than a round
- Splayed fan marks: splay the bristles out with your fingers and load different parts with different colours — instant variation across a single stroke, very useful for grasses and rough textures
- Cutting in around shapes: the clean straight edge cuts precisely around architectural skylines and rooflines in a way that's much harder to achieve with a round brush
- Angle variation: rotating the brush as you paint — 45 degrees, upright, horizontal — produces a whole range of different mark shapes without changing tools